Resizing a picture can seem like a simple task, but everyone who has ever tried it will attest that the outcome is not always satisfactory. An otherwise sharp, distinct image can quickly become blurry, jagged, or pixelated once it’s resized. Such problems are particularly vexing when the image is to be viewed on websites, in publications, or on social media sites where distinctness and aesthetic appeal are most crucial.
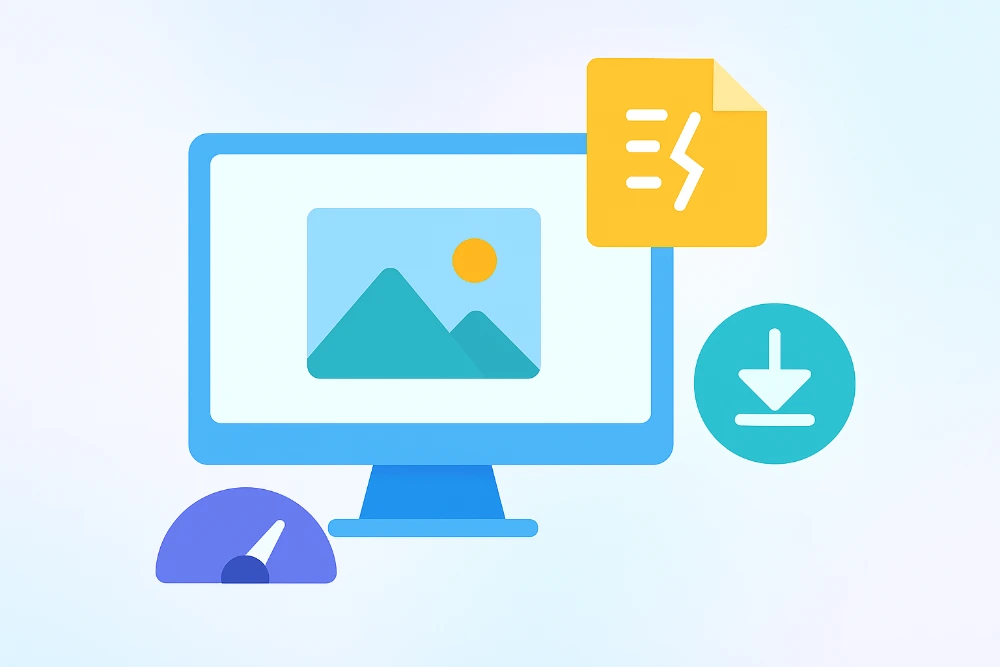
Try our free Educba Image Resizer tool to resize your images without losing quality
Quality loss when resizing is not random. It typically occurs because most tools or applications handle image data in a certain way. This tutorial provides a consistent, step-by-step method of resizing your images in a manner that retains detail and sharpness. Whether you are resizing for digital viewing or commercial printing, this article guides you through simple techniques and introduces you to an instrument that makes the process easy, yielding excellent results.
Why Image Quality Degrades When Resizing
When you resize an image, you are modifying its pixel arrangement. If you shrink it, pixels need to be deleted. If you expand it, new pixels need to be inserted. These modifications are processed by an interpolation process, in which software attempts to extrapolate or interpolate pixel values. This is where the majority of the quality loss occurs, edges become less distinct, colors can mix in error, and textures can lose their texture.
Another shared problem is file formats. Files stored in JPEG format are compressed using lossy compression, which discards data to reduce the file size. This tends to introduce artifacts and lower clarity, particularly if the file is repeatedly opened, resized, and saved. PNG and TIFF, however, compress using lossless compression, which preserves the original data and more gently treats image integrity during resizing.
Upscaling is especially challenging. Increasing the size of a tiny image tends to produce visible blurriness because the software needs to create new pixel data that was initially lacking. This is why it is always preferable to begin with a high-resolution image, even if you intend to resize it later.
How to Resize an Image Without Losing Quality
The good news is that by taking the right actions and utilizing the right tools, it is possible to resize an image without making it blurry or unclear. The following is a professional and straightforward procedure to follow.
Step 1: Start with a High-Quality Source
First, select the highest-resolution source of your image. Doing this means that when you decrease or scale its size, there is sufficient detail for the outcome to remain sharp and clear.
Step 2: Select the Proper Resizing Tool
It is all about the tool when it comes to resizing images. Applications such as paint programs or mobile phone editors often employ automatic compression or crude scaling.
For fast, high-quality results, try this Educba free image resizer tool. It works entirely in your browser, requires no sign-up, and is specifically designed to retain the sharpness and clarity of your image even after resizing.
Step 3: Keep the Aspect Ratio Locked
Always keep the original proportions of the image. Most programs have a setting like “constrain proportions” or “lock aspect ratio”, this prevents the image from getting stretched or squashed when resized.
Step 4: Choose the Correct Format for Output
After resizing, you must save the image in the proper format. For optimal results:
- Use PNG for graphics, icons, illustrations, or any image that requires transparency or high accuracy.
- Use JPEG for images, where both file size and quality can be balanced.
- Use TIFF for high-quality, professional prints where detail is crucial.
Choosing the wrong format means that you may get further loss of quality even after resizing appropriately.
Step 5: Avoid Repeated Editing and Saving
Opening, resizing, and saving an image repeatedly, particularly one in JPEG format can severely reduce quality. Always have a copy of the original image and try to make all your edits within one session before exporting the final copy.
Example Scenario: From Camera to Web Display
Suppose you have an image captured using a DSLR camera, measuring 4000 by 3000 pixels at 300 PPI. You would like to utilize the image as a banner for your website, which should be 1200 by 900 pixels at 72 PPI.
This is what you do:
- You open the image using a resizing application that can handle high-resolution output.
- You input the desired dimensions and resolution.
- You select the option to preserve the aspect ratio.
- Use Bicubic or Lanczos interpolation if the tool supports it.
- Preview the resized version.
- Save it as a PNG or JPEG, depending on where it will be used.
If you’d like to do this whole process efficiently and safely without installing software, use the image resizer tool. It handles all the quality-maintaining details behind the scenes, allowing you to focus on the outcome.
When to Use Online Tools vs. Desktop Software
Use Online Tools If You:
- Require a quick and simple resizing solution
- Work from a browser or shared computer
- Seek professional-quality results with minimal settings
- Have no access to commercial software
Use Desktop Software If You:
- Are optimizing images for commercial print or publication
- Need to edit layers, add effects, or retouch the picture
- Need batch processing of hundreds of images
While professional tools like Adobe Photoshop or GIMP offer complete control, online tools are ideal for single tasks when speed and simplicity are more important than extensive features.
Helpful Tips to Ensure Best Results
- Begin with the highest-resolution file available
- Use loss-free formats when editing or resizing repeatedly
- Resize only once before final export to avoid quality stacking issues
- Test the image visually on different devices before publishing
- Keep a duplicate of the original image for later use
Even the most optimized resizing method can’t salvage detail from a bad source. Preparation, knowledge, and the proper tools are what create a perceptible difference.
Conclusion
Mastering how to downsize an image without compromising its quality is a valuable skill that can be applied to nearly any digital or design project. The correct method can allow anyone to retain detail, sharpness, and clarity, regardless of the end size.
For someone in need of a fast and reliable solution, employing a dedicated browser tool such as the image resize tool option is one of the simplest methods through which professional results may be obtained without complications.
Begin with quality, resize carefully, and choose the proper tool. Your images will prove that accuracy each time.